Dummy Bearing
Dummy Bearing
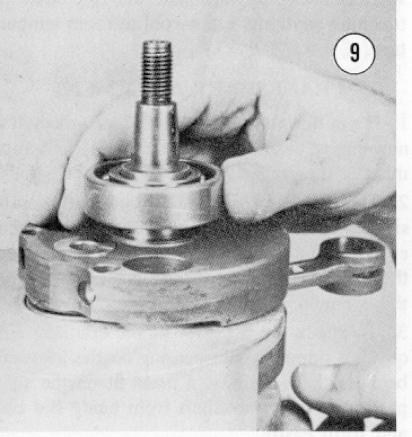
8. Install the shims on the right main bearing and bold them in place with a smear of grease.
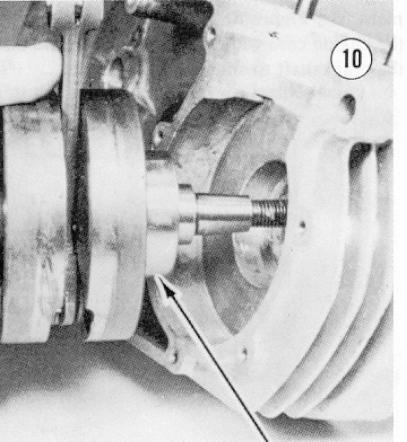
9. Install the right case against the left, with the right end of the
crankshaft through the right main bearing. Tap the case until it
seats.
10. Install five or six engine case screws in the magneto side and
tighten them snugly, but not firmly.
11. Tap on the right end of the crankshaft with a soft mallet to move it all the way to the left.
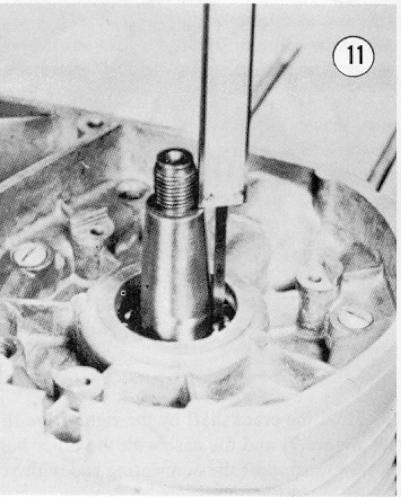
12. Measure the distance from the right end of the crankshaft to the inner race of the main bearing with a vernier caliper (see Figure 11).
13. Tap the left end of the crankshaft with a soft mallet to move it all the way to the right.
14. Measure the distance from the right end to the inner bearing race again, to get the end play. Be sure to measure at the same spot as before.
15. The correct crankshaft end play is .004" to .008". Add or subtract shims until it is correct. Try to have an equal thickness of shims on each end.
16. Install the wrist pin bearing, the piston without the rings, and the wrist pin on the connecting rod.
17. Install the cylinder over the piston (see Figure 12) and push it down firmly against the crankcase.
18. Turn the crankshaft three or four revolutions and stop with the piston at top dead center.
19. Get a small dentist's mirror and a flexible probe type flashlight (see Figure 13).
20. Insert the flashlight and the mirror in the intake port (see Figure
14). Shine the light at the mirror and angle it so the light is reflected
on the connecting rod big end. You can easily see how well the rod
is centered on the crank pin.