Power Transmission
1. Figure 11 shows the complete transmission assembly with the proper
name for each part.
2. Figure 12 shows the same assembly with a letter substituted for
the gear name. By using the letter designation, the function of the
gears will be better understood when the same gear is referred to repeatedly.
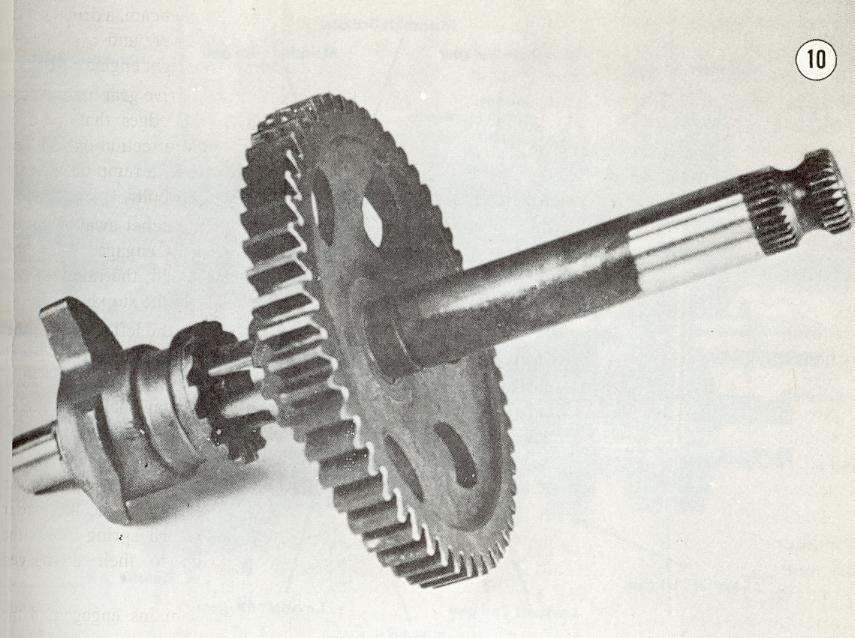
3. In Figure 12, the transmission is in neutral. All the main
shaft gears are meshed squarely with the opposing lay shaft gears.
These gears will never become unmeshed, nor will they mesh with any other
gears. Even when their sliding gears move back and forth to their
farthest point, they will retain at least a 60% mesh with their opposing
gears. This is what the name, "constant mesh transmission" means.
4. Some gears on both shafts are locked to the shaft either by splines
or by being an integral part of the shaft. In Figure 12, the "YES"
or "NO" printed on each gear indicates whether that gear is locked to its
shaft. Note that if a gear is locked to one shaft, its opposing gear
is not locked to the other shaft. Remember this point in the following
discussion.
5. The foot shift lever is pushed down to engage first gear from neutral.
The drum rotates so its grooves slide the shift fork connected to gear
I to the left. The engaging dogs on the left of gear I fit in the
slots on the right of gear J, engaging them (see Figure 13).
6. The other shift forks do not move. The power enters the transmission
through the main shaft. Gear A is locked to the main shaft and transmits
the power to gear J on the lay shaft. Gear J is not locked to the
lay shaft, but gear I is. Since gear J and gear I are now engaged, the
lay shaft turns.