FIG. 73
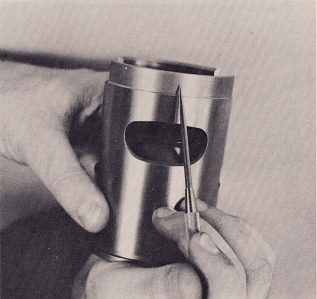
7. The liner has an area on the bottom where its outside diameter is slightly smaller than the rest of the liner (Fig. 73). This is to aid in starting it into the cylinder.
FIG. 73
Very carefully start this part into the cylinder, and continue moving the liner downward until it has moved one or two inches inside the cylinder. At that point, let go of the liner and it will drop into place inside the cylinder.
8. Very quickly turn the cylinder liner to align the ports, grasping it by the part that protrudes from the bottom of the cylinder (Fig. 74). You have 6 to 10 seconds to do this once the liner falls into the cylinder.
9. Leaving the cylinder supported by the bottom fins, place a heavy weight on the top of the liner to hold it in place while it cools.
10. After the cylinder has reached room temperature, remove the weight and inspect the alignment of the ports. If there is a slight misalignment, correct it now with a suitable grinding tool. It is better to do this now, as should the grinding tool slip and scratch the cylinder wall, this scratch will be removed when the cylinder is bored.
11. All new liners require boring after installation. Therefore, refer to Fig. 71, Section 6, for the correct piston to cylinder clearance. Bore and finish the cylinder according to the instructions given in Section 5 of this chapter.
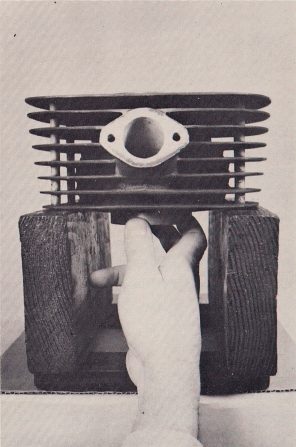
FIG. 74
Page 55