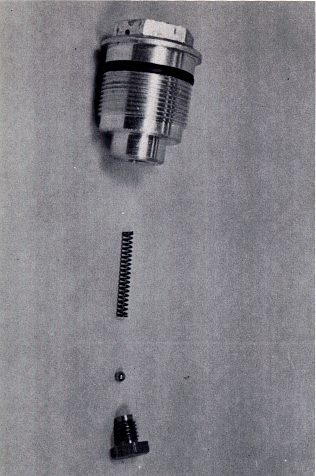
FIG. 156
FIG. 156
7. Carefully clean each ball, spring, 12 mm nut and stanchion nut and blow them dry with compressed air. Reassemble the components back into the stanchion nuts. Inspect the condition of the "0" rings on the stanchion nuts and if they are cut, nicked, or damaged in any way, replace them.
8. Thread the stanchion nuts back into the fork tubes as far as you can by hand. Do not use a wrench on these nuts until they are screwed in two or three turns; otherwise the threads may become stripped. With the 25 mm socket and torque wrench, tighten the stanchion nuts to 50 ft. lbs. torque.
9. Place the cycle with both wheels on the ground and pump the forks up and down. If oil comes out of the hole in each stanchion nut, or if you can hear air leaking in and out of the holes, prop the machine with the front wheel off the ground and remove the stanchion nut that was leaking.
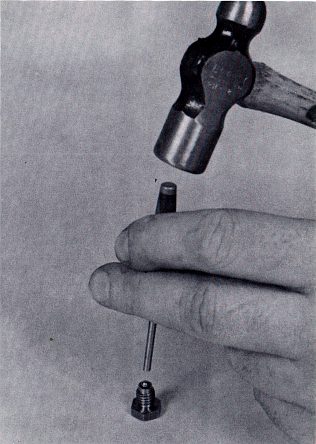
FIG. 157
10. Remove the 12 mm check ball nut from the bottom of the stanchion plug and again clean the check ball and the nut.
11. Place the nut on a bench top with its hex head flat on the bench and the threaded end pointed upward. Place the ball in position on the recessed ball seat as shown in Fig. 157.
Page 126