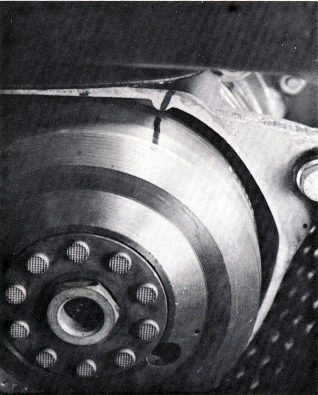
FIG. 145
15. Connect the timing light to the plug wire, and if it is the type that needs an external source of power, provide that source (battery, wall outlet, etc.) according to its need.
FIG. 145
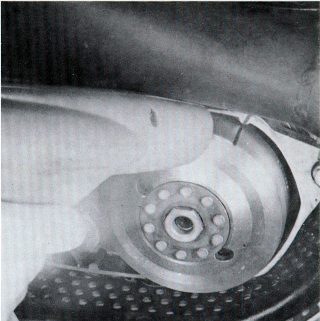
FIG. 146
17. If the marks did not align, turn off the engine and adjust the timing by removing the flywheel and rotating the stator. If the mark on the flywheel was to the right of the mark on the case, turn the stator counterclockwise an equivalent amount. If the mark on the flywheel was to the left of the mark on the case, turn the stator clockwise an equivalent amount. Reinstall the flywheel and check the timing again with the light.
18. If the mark on the flywheel was erratic and seemed to fire almost
anywhere, or jump around quite a bit, replace the magneto.
1. The OSSA Pioneer is equipped with a battery operated lighting system. The battery is recharged by current generated in separateSection 3:
How the Charging System Works
Page 118