| FRAME, SWINGING ARM, AND REAR SUSPENSION | 119 |
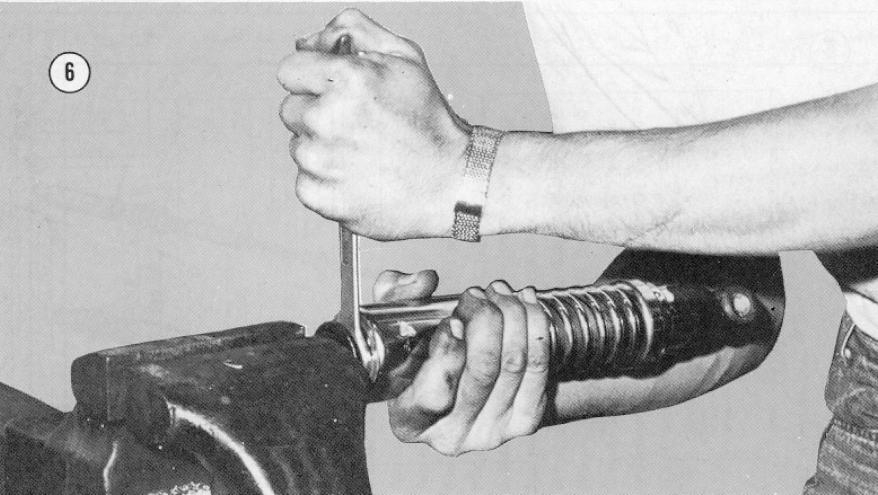
| 8. Further disassembly is necessary only if oil must be added, a shock
repair kit is to be installed, or if the plunger is bent.
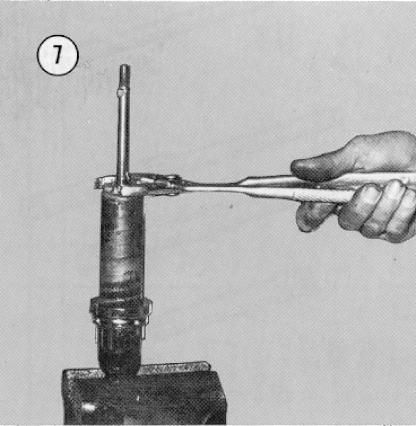
9. Refer to Figure 7 and remove the seal holder cap nut as shown. 10. At this point, the seal can be replaced or the rebuild kit (available from Ossa dealers) can be installed. Refer to the exploded view (Figure 8) for the correct order of reassembly if the kit comes without directions. 11. The proper method of reassembling the shock after adding oil must be followed to avoid leaving air in the system. Proceed as follows: Pour 70 cc's of shock oil (5 weight is recommended for normal use) into the shock and screw the cap nut in until it is about two thirds of the way into the shock tube. Now slowly push the shaft down, expelling air and any excess oil, until the shaft is all the way down. If the shaft doesn't go down so part of the threads are below the top of the cap nut, you must loosen the cap nut a little until the shaft goes all the way down. Tighten the cap nut securely and then pull the shaft all the way to the top. 12. Before continuing reassembly, check the shock for proper action
by moving the plunger up and down as described in Step 7 above. If
it checks out, replace the lock nut on the shaft, install the spring and
shock cover and screw on the top mount. Be sure the rubber bumpers
are in place and that the top mount lock nut is tightened securely before
the shocks are remounted on the machine.
|
 |